

I don't like to flavor my chicken ahead of time, because I never know what I am going to use it for. Same with my ground beef. There are so many things that you can put your canned chicken into. I use it quite often when I make my Sour Cream Enchiladas or Hawaiian Haystacks or even my Crunchy Oriental Noodle Cabbage Salad. Anything that calls for shredded chicken... you can use it for. Can you imagine, no more buying the expensive stuff in the can at the store. (That always tastes like tuna fish!) Just open up your jar and toss it in. It's so nice and easy!!! Also, from what I understand, meat can only be canned in a pressure cooker. It will not seal and stay sealed properly with a water bath.
If you would rather add some flavor to your chicken, feel free. Any flavor or brine you like will work just fine.

Step one- There are two types of Jars. There are wide mouth and regular mouth jars. (I prefer the wide mouth because they stack so much easier on my shelf and in the pressure cooker.) You will also need to decide if you want to use Pint or Quart jars. You can use both also. See times below...

Step two: Cram as much raw chicken into the jar that you can. (it will cook completely in the pressure cooker) Fill it up to 1/2 to 1 inch from the top. (this jar we didn't fill as full as we could have.) I can usually fit about 1 1/2 breasts into a pint. You don't need to cut it up, but you can. I usually cut up just what I need to, to fill in the gaps. Don't add any liquid. The chicken will cook down and release it's own juices. After you fill the jar. Be sure to wipe the rim with a damp paper towel. Then out on your flat lids and rings. Just tighten it to the point where it starts to have some resistance. It doesn't need to be as tight as possible.

Step three: stack your jars inside the pressure cooker. You need to fill it at least half full. If you have a number pressure gage, you need it to be at 11 lbs of pressure. If you have the rings pressure gage, it needs to be at the 2nd ring. Once you get it to the right pressure, start the timer. 75 minutes for Pints and 90 minutes for Quarts. If you have pints and quarts in the pressure cooker at one time, you will need to do the full 90 minutes. Always remember, when mixing sizes... do the greater sizes time. Also, you will need to keep it at that pressure, so you will usually have to play with the heat a little to keep it on target.
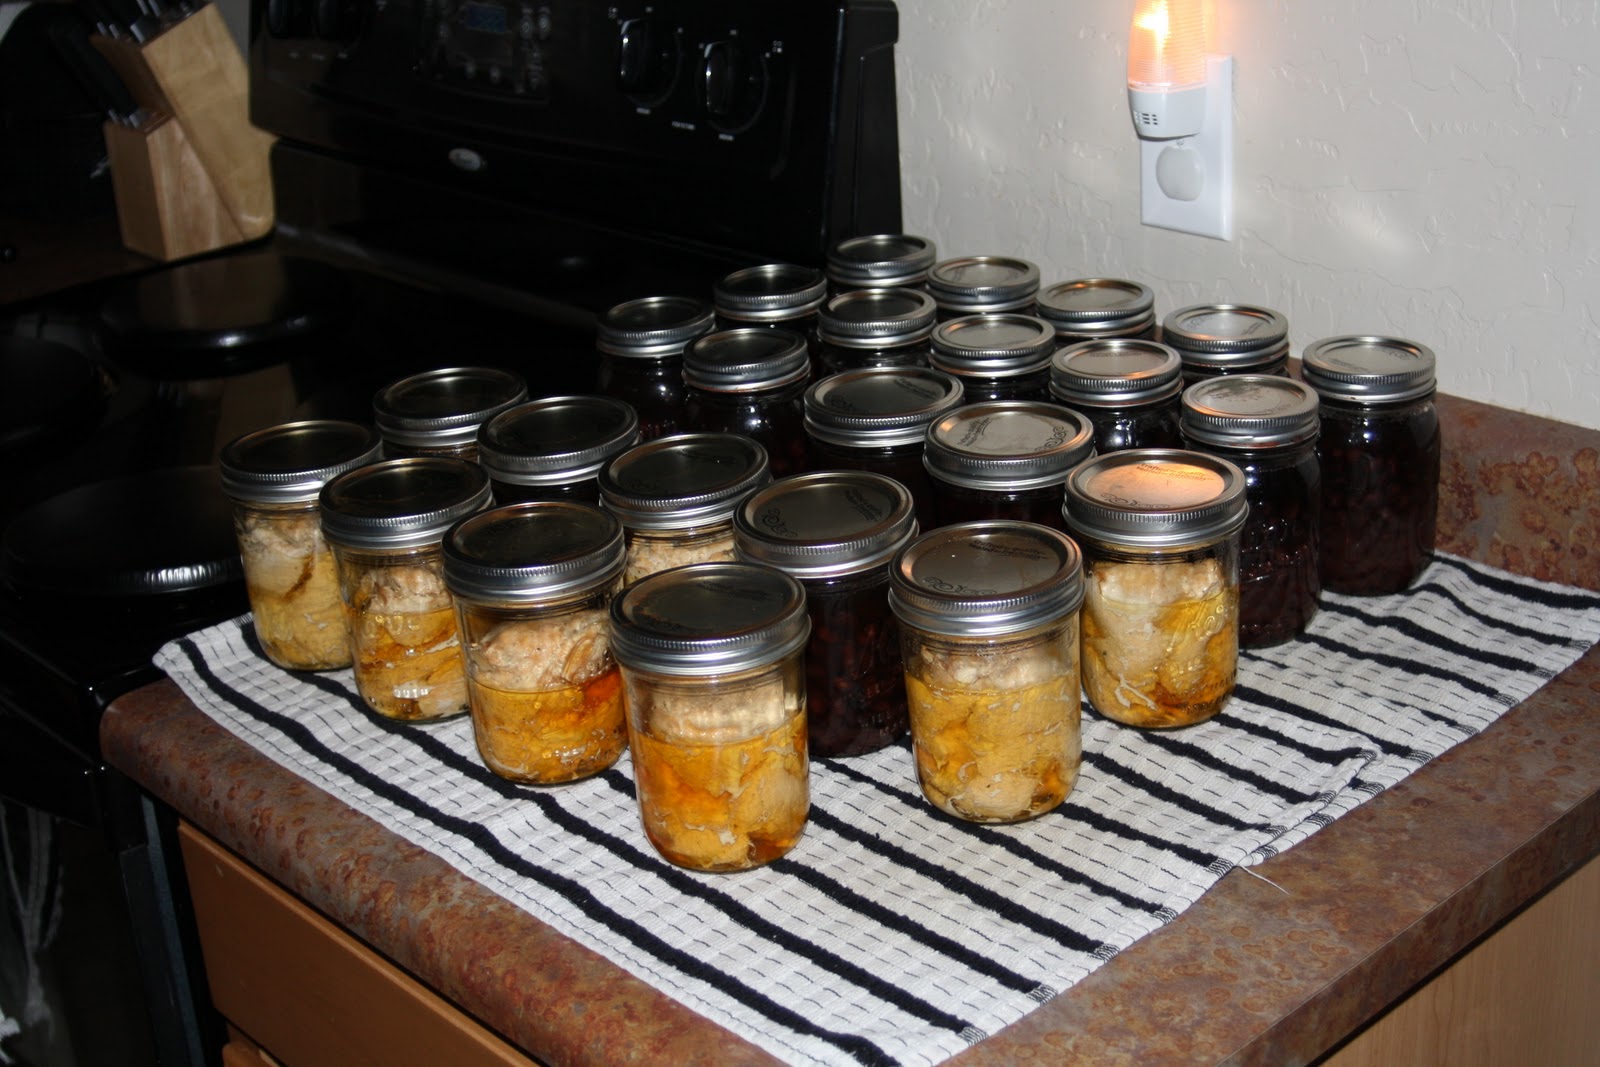
When the timer is up, turn off the stove and let the pressure cooker sit until it is down to zero lbs of pressure. Then you can remove the pressure cooker lid. With canning tongs, remove jars carefully and place them on a towel on a flat surface. Allow them to sit until cooled. Check to see if the jars have sealed by pressing on the middle of the flat lid. If the button is down, it is sealed and can be stored on the shelf for up to 5 years. If it's not sealed, immediately more to the refrigerator and use asap.

I like to say that chicken looks some what like a science project in a jar. Don't worry, it tastes better than it looks!
2 comments:
From the picture, it looks like you put the chicken in raw? And fill the jars with water, or no? And I don't have a pressure cooker, what if I put the chicken and broth in oked, then just did the water bath until the lids pop and seal? Good? No good?
Brianne, yes sorry I left that out. I changed it in the post. You will want to put it in there raw. It will fully cook inside the pressure cooker. You do not need to add water or anything. The chicken cooks down and releases it's own juices. From everywhere I read, you can not water bath meats. They may seal but will not seal properly and stay sealed.
Post a Comment